Showing posts with label DIY. Show all posts

Saturday, March 9, 2013

Nursery Stuff: DIY Book Ledges

The book ledges have been built and hanging for a few weeks now, but we had issues with the paint job until tonight (Sorry for being so Type A, Danny), so they weren't ready for their close-up until tonight.

I'd originally planned on using Ikea's picture ledges as our book ledges, but, naturally, the long ones were way too long for the wall, and the short ones were way too short—so I put poor Danny to work.

Danny based his plan on this tutorial by Ana White. How did this project cost Ana $10 and us $100? Whatever. Anyway, we went with the 32" ledges.

Thank you, God, for letting my wonderful but unhandy husband complete this project unscathed.

Chilling on the floor, ready to be sanded, primed, painted, and hung. And then sanded and painted again. And then hung, sanded, and painted again. And then sanded and painted one more time. You think I'm exaggerating, but I'll spare you the details.  (On Facebook, Danny posted this photo and captioned it "Pinterest should be renamed 'Shit I Want My Husband to Build'"

Done! 

These look amazing, and they were so much cheaper to make than buy, especially considering Pottery Barn seems to be the only place in the world that sells 32" ledges. I couldn't be more proud of Danny!

Monday, November 19, 2012

Pinterest Fail

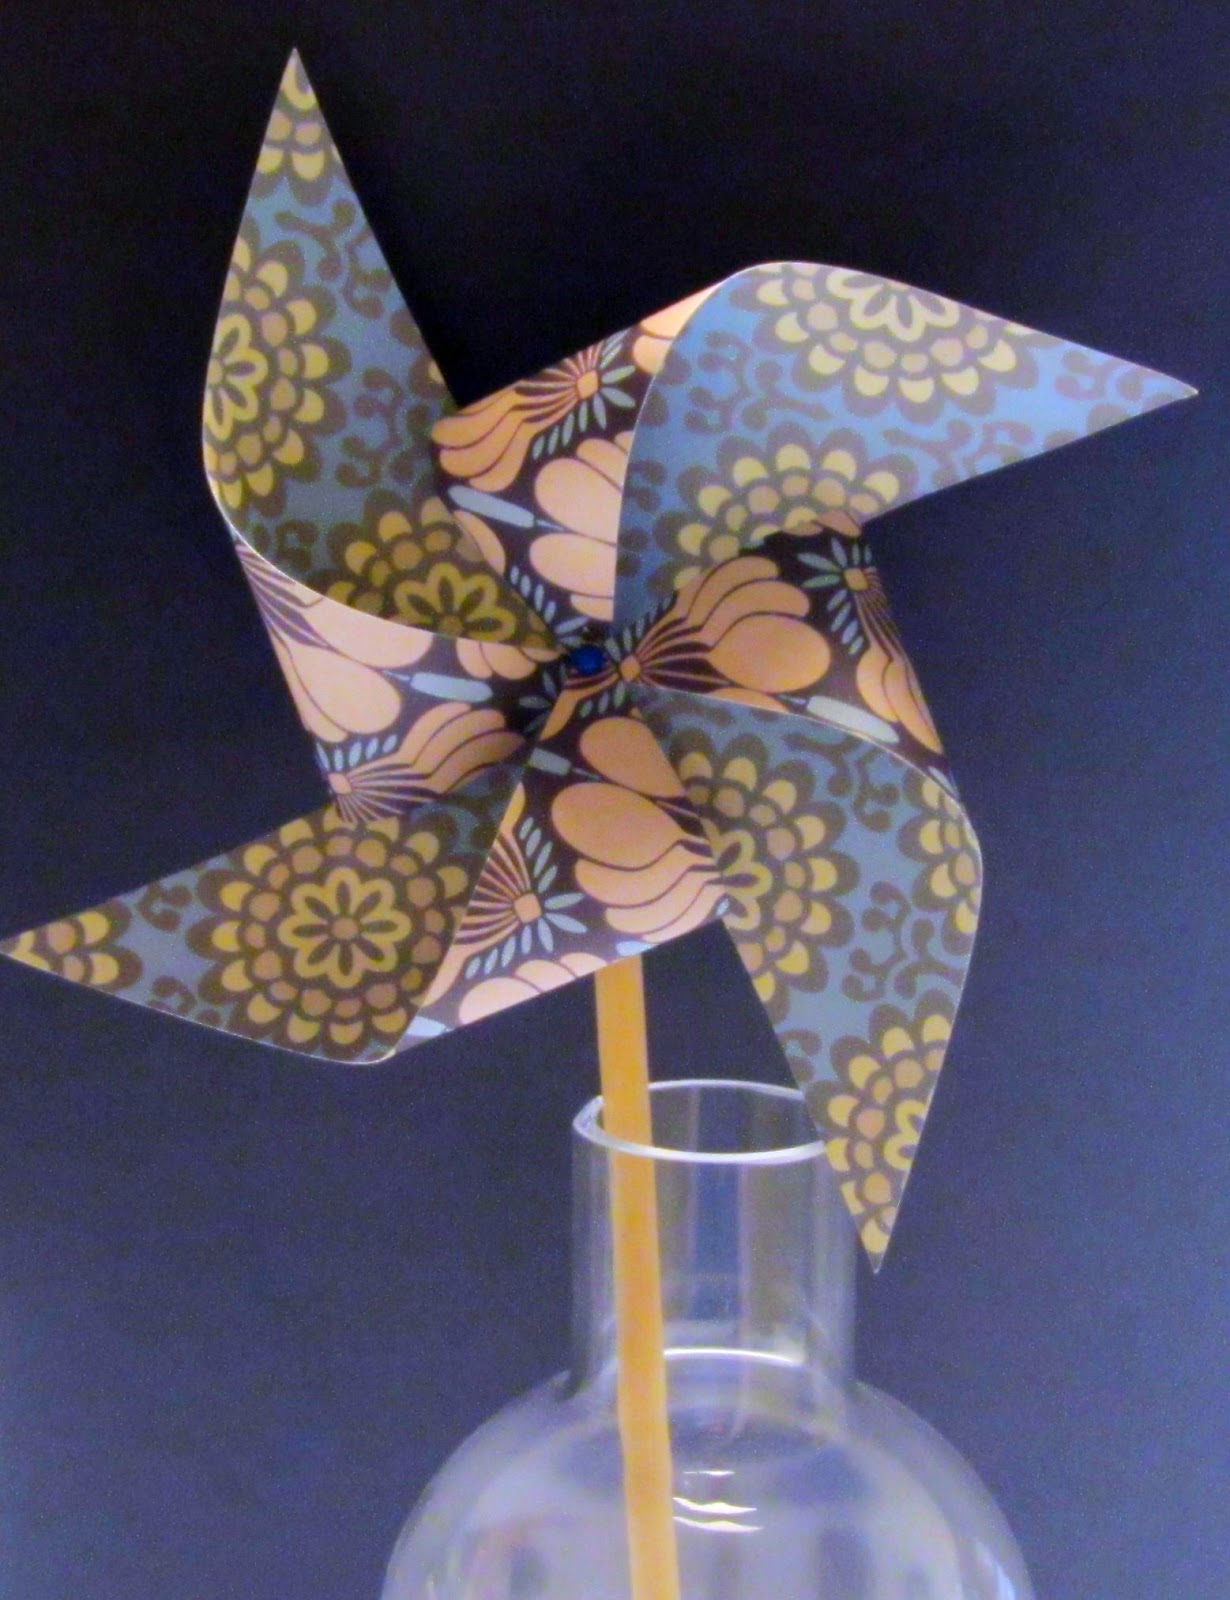
Many moons ago, when I thought I was going to have a big wedding, I made 75 of these pretty pinwheels in various colors and patterns to use as part of my centerpieces:

Ooooh, pretty.
They really work, too!

They've just been stored away in a buffet (not one per jar like that, obviously) because they were so tedious and took soooo many hours to make that I just can't bear to throw them away.

Anyway, I was thrilled when I realized they'd be cute in a nursery--a few of them, I mean--not 75, and one day last week, I decided to dress up a boring ol' mason jar to put them in.

I followed this tutorial, fully expecting my mason jar to turn out like these beauties:


Looks impossible to mess up, right??

Instead, I ended up with this monstrosity:


The directions said the streaks would disappear when the jar dried--
which is a giant lie because the jar was completely dry when this photo was taken.

After I destroyed my innocent mason jar, I read some comments people had left on that tutorial page. Apparently, the poor Mod-Podge users, like myself, didn't fare as well as the lucky people who went with Elmer's glue. Live and learn, I guess (and buy a pretty vase).

Sunday, October 21, 2012

DIY Name Blocks

I plan on making lots of things for the nursery because a) nurseries with personal, handmade touches are always the sweetest and b) I'm buying a $1,000 chair.

When I ran across this tutorial the other day, I knew I had to give it a shot--so Danny and I bought the supplies and had a night of crafting.

Like with anything he and I attempt to do, this took way, way longer than we anticipated. Three hours for 4 blocks. That's 45 minutes per block.

Keep reading.

Anyway, this post should actually be called "MYHDIH Name Blocks." Make-Your-Husband-Do-It-Himself Name Blocks; as soon as I started trying to cut the paper with the X-Acto knife, I started getting pissy. I was cutting chunks of the block off, the edges of my paper were all jagged, and I was afraid I was going to cut my face off.

My awesome husband volunteered to take over. In fact, he yanked the X-Acto out of my hand and told me not to touch it again--and to just let him know which paper to put where. Apparently, I'm scary when I'm angry.

First, he spread some Mod Podge on one side of a 2"x2" block with one of those craft sponge thingies.

Nothing sexier than a man with Mod Podge.

Next, he put the block, Mod Podge side down, onto a piece of pretty paper. He then cut around the block with an X-Acto knife. He did this 23 more times. This task is so much more tedious than you're imagining. It's horrendous.

Go, Danny, go!

 After that, I stamped letters onto the blocks. All but 2 of them, anyway.

See? I'm not completely useless!

Luckily, the boy name and the girl name we've chosen both have 4 letters--so we only had to do 4 blocks. Each block has 2 lettered sides (one from each name) and 4 stampless sides.

Block #1:  boy side. 
Block #1:  girl side.

I don't have a picture of myself in action, but once everything was papered and stamped, I went over all of the edges with Mod Podge to smooth them down. Here's the end result:

All the pretty blocks, with the last 3 letters
turned away from you. You didn't think  
I was going to reveal the names, did you??
See previous caption.


I'm going to put these way up high on a shelf, unstacked--you know, horizontally. In retrospect, I'd only decorate the 10 sides that could potentially be visible (4 for each name and the two end sides). That would have saved a good hour or so.

In summation, making your own baby name blocks isn't fun at all--but holy crap, they're adorable. Oh, and I'd marry Danny a thousand more times if I could. He's the greatest.